
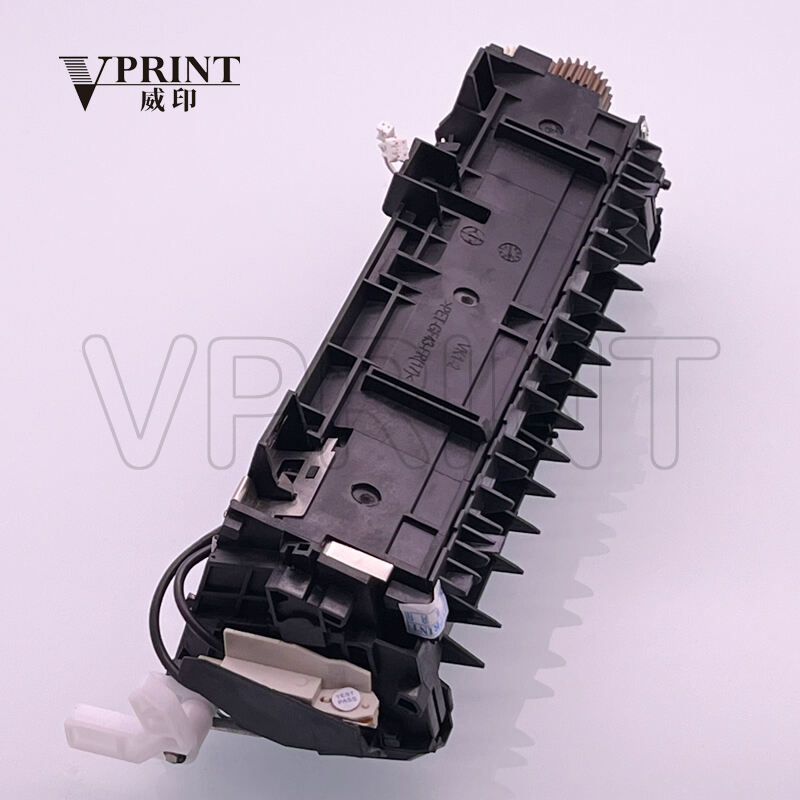
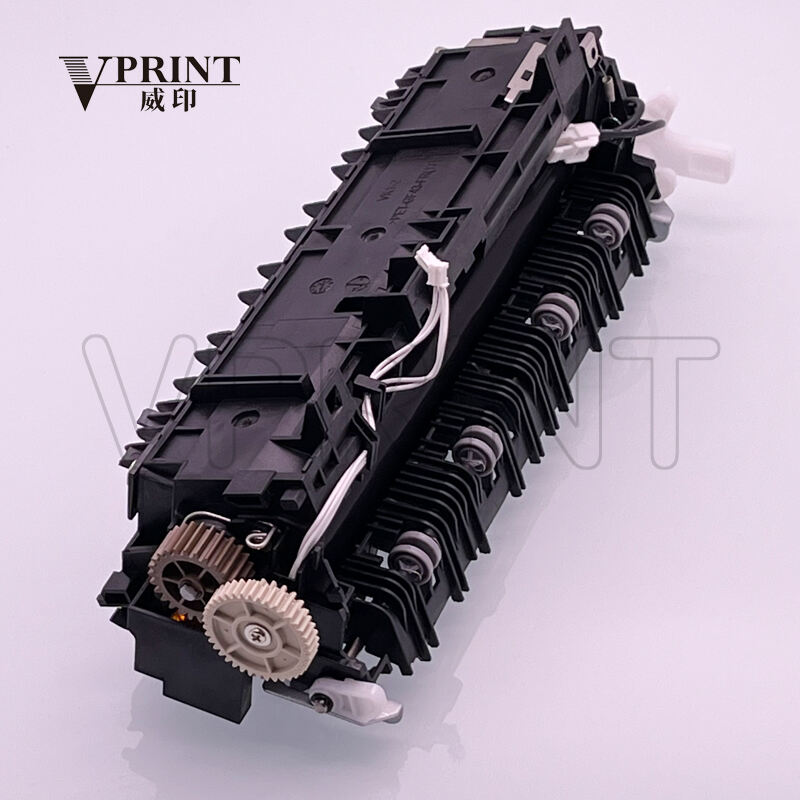
Understanding Your Brother Printer's Fuser Unit
How Fusers Function in Laser Printers
The fuser in a laser printer plays a pivotal role, using heat and pressure to permanently bond toner to paper, ensuring your documents are crisp and clear. At the core of this process are the heating element and pressure roller. The heating element warms to temperatures exceeding 180 degrees Celsius, an essential threshold for effectively melting the toner particles onto the paper. The pressure roller then ensures the toner is securely adhered, preventing smudging and running. Understanding this simple yet crucial mechanism can help in troubleshooting print quality issues with your Brother printer or similar devices like the HP P3015 fuser or Xerox fuser.
Brother Fuser Models vs. HP/Xerox Counterparts
When it comes to fuser units, different brands like Brother, HP, and Xerox each have unique offerings. For example, Brother's fuser in models like the HL-L8350 is designed to last up to 200,000 pages. This impressive lifespan is a testament to Brother's durability and efficiency. In comparison, the HP P3015 fuser and the Xerox B405 fuser models differ in design and overall cost-performance ratio. While Brother and Xerox fusers may be more cost-effective and durable, HP models often integrate advanced technologies for improved performance. Deciding which brand offers the best value may depend on your specific needs and usage patterns, but Brother generally provides a strong balance of performance and economy.
Why Timely Replacement Matters for Print Quality
A failing fuser can dramatically affect print quality, leading to undesirable issues such as smudges and blurred images. Over time, these problems can escalate, potentially causing damage to other vital printer components. According to industry experts, timely replacement of fuser units is crucial, not only to maintain print quality but also to avoid costly repairs down the line. Regular intervals for fuser replacement vary, but adhering to manufacturer guidelines can optimize your printer's performance and longevity. Proper maintenance and scheduled replacements are essential practices in keeping your Brother printer and other models, like the HP M477 fuser or Xerox fuser, running smoothly and efficiently.
Recognizing Signs of a Failing Fuser
Common Symptoms Like Smudges or Lines
Recognizing the early signs of a failing fuser is crucial to maintaining the quality of your prints. Common indicators include smudges, uneven print quality, and lines on documents, often leading to increased frustration and reduced productivity if left unaddressed. These symptoms occur when the fuser unit struggles to bond toner to paper effectively. To nip these issues in the bud, regular printer inspections are essential. By routinely checking and ensuring your fuser's optimal functioning, you can identify and mitigate potential problems before they escalate.
Differentiating Fuser Issues from Toner Problems
Being able to differentiate fuser issues from toner-related problems can save both time and resources. Fuser malfunctions often present as heat and pressure-related defects such as poor adhesion of toner, while toner problems typically manifest as faded prints or toner streaks. For instance, low toner levels might result in weak or spotty prints, while a faulty fuser might cause smudging or melting issues. Using quality toner products can also extend the life of your fuser, as it prevents unnecessary wear and tear. Understanding these distinctions helps in accurately diagnosing and resolving printer issues.
Brother-Specific Error Codes to Watch For
Brother printers employ specific error codes to indicate fuser malfunctions or maintenance needs, making it easier to identify issues quickly. Codes such as "50" or "68" might suggest fuser-related faults that need addressing. Accurately interpreting these codes streamlines the troubleshooting process, reducing downtime and ensuring your printing tasks remain uninterrupted. Always consult your Brother printer's user manual to understand detailed meanings of error codes, as it will guide you through appropriate corrective actions tailored to your printer model.
Preparing for Safe Fuser Replacement
Safety Precautions and Required Tools
Ensuring safety while replacing a fuser unit is paramount. To start, always unplug the printer before beginning any maintenance work. This prevents any risk of electric shock. Additionally, after turning off the printer, wait for the fuser to cool down completely to avoid burns, as it operates at high temperatures. Essential tools for a smooth fuser replacement include screwdrivers, gloves, and cleaning cloths. Using manufacturer-specified tools is crucial to avoid any potential damage to the equipment in brands like Brother's printer models. By following these precautions, you can effectively prepare for fuser maintenance without risking safety or equipment integrity.
Accessing Internal Printer Components
Accessing the internal components of a printer requires careful handling to avoid causing damage. Start by following the manufacturer's instructions to open the printer casing safely. Once the casing is open, familiarize yourself with the layout of the internal components, making locating the fuser unit and other essential parts easier. For those unfamiliar with the printer's anatomy, using tags like "HP P3015 fuser" ensures access points are straightforward. Including illustrations or diagrams can significantly aid visual learners in identifying internal parts, promoting more effective maintenance practices.
Locating the Fuser in Brother Models
In Brother printer models, the fuser unit is typically located at the back or bottom of the printer. For different models, access or removal procedures might vary slightly. Therefore, model-specific instructions should be followed to ensure proper handling and reassembly. Keeping a reference guide or labeling the fuser location within the printer can facilitate quick identification during future maintenance tasks. This preparation makes the task more efficient and helps prevent unnecessary wear and tear during servicing, ensuring the longevity of your Brother printer fuser.
Step-by-Step Brother Fuser Replacement Guide
Powering Down and Cooling the Printer
When it comes to printer maintenance, the first critical step in replacing the fuser is to ensure the printer is properly powered down. This mitigates any electrical hazards that may pose a risk during maintenance. It is equally important to allow the printer to cool adequately. This involves not only turning off the printer but also unplugging it to avoid any residual charge issues. Allow approximately 30 minutes for the fuser to cool, or check that the surrounding air is no longer warm, as an indicator that it is safe to handle.
Removing the Old Fuser: Lock Release & Extraction
Removing a fuser involves precise steps to avoid unnecessary complications. First, recognize the locks or clips holding the fuser unit in place. These are designed to secure the fuser but can be complex to manage. Gently release these locks using a non-metallic tool to prevent any short circuits. After unlocking, slowly pull out the fuser unit, ensuring surrounding components such as cables and adjacent parts are not disturbed or damaged. Common errors include rushing the process or applying excessive force, both of which can lead to damage.
Installing the New Fuser with Proper Alignment
Proper alignment is imperative when installing a new fuser for your Brother printer. Begin by ensuring the alignment tabs on the fuser match perfectly with the slots in the printer. Insert the fuser smoothly without forcing it, and listen for a clicking sound that indicates it is seated correctly. Avoiding common pitfalls, such as mismatched connectors or uneven insertion, is crucial for functionality. Signs of successful installation include the fuser fitting snugly without wobble and the ability to close the casing without resistance.
Reassembling and Securing Components
Once the new fuser is installed, proper reassembly of the printer's external casing is essential. This process begins by verifying all internal components are in correct order and no loose parts remain. Use a checklist to confirm that all screws and locks are returned to their rightful places and tightened securely. This not only ensures the longevity of the printer but also confirms that the printer is safe to use post-maintenance. Double-checking these elements can safeguard against future operational issues and enhance overall printer maintenance.
Post-Replacement Setup and Testing
Resetting the Fuser Counter via Printer Menu
Resetting the fuser counter in your printer's menu is crucial after installing a new fuser. This step is important because it helps to track the actual usage and manage the maintenance cycle more effectively. To reset it, you will need to access the printer's settings by navigating to the menu, typically found under device settings or system setup, depending on your printer model. Resetting the counter ensures that the printer recognizes the new fuser, preventing premature maintenance alerts and optimizing performance. Skipping this step can lead to tracking inaccuracies and misuse, potentially impacting printer efficiency and lifespan.
Performing Test Prints for Quality Verification
Running test prints post-replacement is crucial for verifying print quality and detecting potential defects early on. Start by selecting ideal print settings, such as normal or draft modes, and choose documents that vary in complexity — including text-heavy, mixed graphics, and photo prints. This variety helps identify any alignment or toner adherence issues. After printing, examine the outputs for any inconsistencies like streaks, spots, or fading, which might indicate a problem with the fuser installation or other components. Consistent quality across these tests reaffirms that the fuser is functioning correctly.
Troubleshooting Persistent Print Defects
If print defects persist after replacing the fuser, follow specific troubleshooting steps to resolve the issue. Check other elements such as the drum unit or toner cartridge, as they might also cause defects. For instance, residue on the drum or low-quality toner can lead to unwanted print marks. Ensure that these components are correctly installed and in good condition. If problems continue, consulting the manufacturer’s support or a service center is recommended. They can provide more detailed diagnostics and solutions specific to your printer model, safeguarding long-term performance and print quality.
Extending Fuser Life Through Printer Maintenance
Cleaning Routines for Optimal Fuser Performance
Establishing a regular cleaning schedule is vital for maintaining optimal fuser performance, particularly for devices like the Brother printer fuser. Routine cleaning should involve not only the fuser but also surrounding components such as the rollers. To achieve this, it's essential to choose appropriate cleaning materials, like lint-free cloths and printer-safe solvents, to avoid damaging sensitive parts. Evaluating the effectiveness of these cleaning routines over time can involve monitoring print quality and frequency of maintenance issues.
Selecting Recommended Paper and Toner Types
Using recommended paper and toner types is crucial for extending the life of your fuser, such as the HP P3015 fuser or Xerox fuser. Recommended paper types are designed to cause less friction and stress on the fuser, preventing premature wear. Certain toner formulations, particularly OEM products, can optimize fuser performance by ensuring consistent heat and pressure settings. Although quality supplies may seem more expensive initially, they offer financial benefits in the long term by reducing maintenance costs and preventing frequent repairs.
Managing Environmental Factors Like Humidity
Environmental factors, especially humidity, can significantly impact both printer performance and fuser longevity. For instance, high humidity can lead to paper jams and uneven heating, affecting devices like the HP M477 fuser. To mitigate these issues, maintaining a controlled environment within the printer area is key. Practical solutions include using dehumidifiers or air conditioners to stabilize humidity levels. Studies have shown that maintaining an optimal environment can greatly enhance print quality and extend hardware lifespan, highlighting the importance of effective printer maintenance strategies.
Frequently Asked Questions
What is a Brother fuser, and why is it important?
A Brother fuser is a crucial component in laser printers that uses heat and pressure to bond toner to paper, ensuring print quality and durability.
How often should I replace the Brother fuser?
Replacement intervals vary, but generally, a Brother fuser should be replaced according to the manufacturer's guidelines to maintain optimum print quality and prevent damage to other printer components.
What are common signs of a failing Brother fuser?
Signs include smudges, blurred images, and uneven print quality. These issues indicate the fuser is struggling to adhere toner to paper effectively.
Can I differentiate Brother fuser issues from toner problems?
Yes, fuser issues often manifest as heat and pressure-related defects, while toner problems may cause faded prints or streaks due to low toner levels.
How can I safely replace the Brother fuser?
Safety precautions include unplugging the printer, letting the fuser cool, and following manufacturer guidelines using appropriate tools and practices.