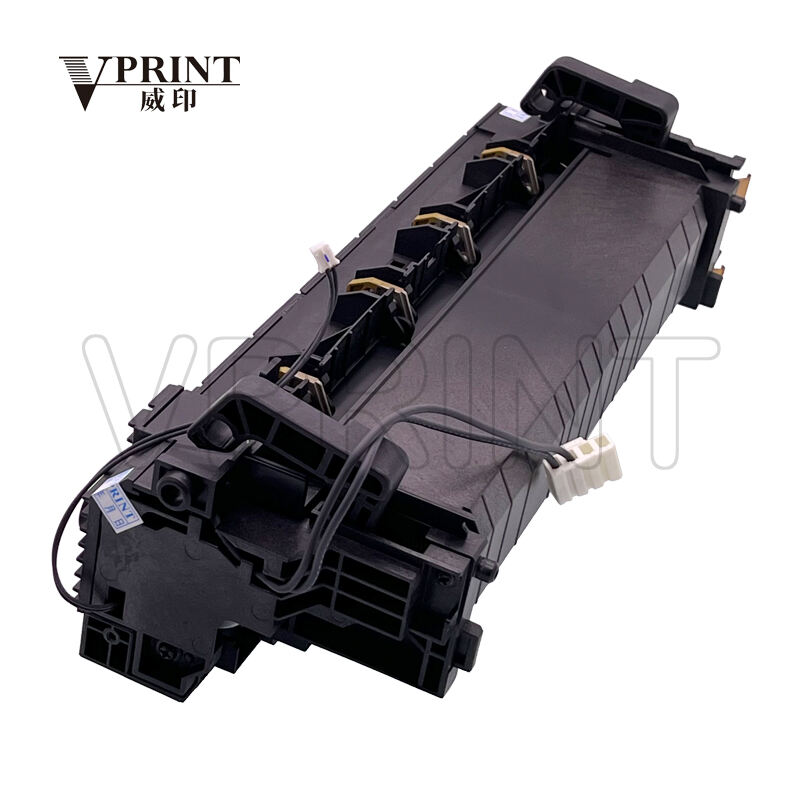
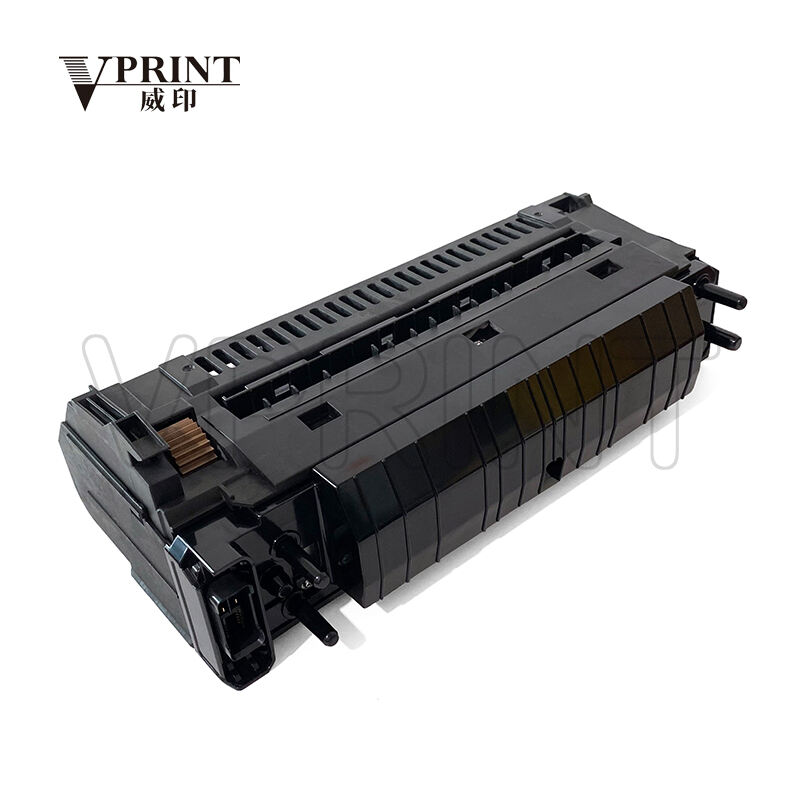
How to Replace an OKI Fuser in Your Printer?
Replacing an OKI Fuser is a common maintenance task for OKI laser printers, necessary when print quality declines due to fuser wear or damage. The fuser, responsible for bonding toner to paper with heat and pressure, wears out over time, leading to smudged prints, paper jams, or uneven results. While the thought of replacing a printer component may seem intimidating, following a step-by-step process makes it manageable for most users. This guide explains how to replace an OKI Fuser in your printer, covering preparation, tools needed, safety tips, and post-replacement checks to ensure successful installation and restored print quality.
When to Replace Your OKI Fuser
Knowing when to replace the OKI Fuser is the first step. Fusers have a limited lifespan, typically ranging from 50,000 to 300,000 prints depending on the printer model and usage. Signs that your OKI Fuser needs replacement include:
- Smudged or easily rubbed-off prints: Toner fails to bond properly because the fuser isn’t applying enough heat or pressure.
- Paper jams in the fuser area: Worn rollers or misalignment cause paper to get stuck as it passes through the fuser.
- Uneven print quality: Some areas of the page are clear, while others are faded or blurred, indicating inconsistent heat distribution.
- Error messages: Many OKI printers display error codes (like “Fuser Error” or specific codes such as 50.xx) when the fuser malfunctions.
- Paper curling or discoloration: Excessive heat from a failing fuser can warp paper or leave brown marks.
If you notice these issues, replacing the fuser is likely the solution. Always confirm the need for replacement by checking your printer’s manual or OKI’s support resources for model-specific symptoms.
Preparation: What You Need Before Starting
Before replacing the OKI Fuser, gather the necessary tools and materials to ensure a smooth process:
- Genuine OKI Fuser replacement: Use a fuser designed specifically for your printer model. Non-genuine fusers may not fit properly or could damage the printer. Check your printer’s model number (usually on a label at the back or bottom) to buy the correct part.
- Flat-head screwdriver: Some models require a screwdriver to remove panels or secure screws holding the fuser in place.
- Clean, lint-free cloth: Useful for wiping away dust or toner residue around the fuser area.
- Work gloves (optional): The fuser can retain heat even after the printer is turned off, so gloves protect your hands from hot surfaces.
- Printer manual: Keep it handy for model-specific instructions, as fuser locations and removal steps vary slightly between OKI printers.
Additionally, choose a clean, well-lit workspace to avoid losing small parts and to see clearly during the process.

Safety First: Important Precautions
The OKI Fuser operates at high temperatures, so safety is critical. Follow these precautions to avoid injury or printer damage:
- Turn off and unplug the printer: Let the printer cool for at least 30 minutes before starting. Fusers can remain hot for hours after use, and touching hot components can cause burns.
- Avoid static electricity: Static can damage sensitive printer parts. Ground yourself by touching a metal part of the printer (like the frame) before handling the fuser or internal components.
- Handle the fuser carefully: The fuser has delicate heating elements and rollers. Avoid dropping it or touching the roller surfaces with bare hands, as oils from your skin can affect print quality.
- Work on a stable surface: Place the printer on a flat, sturdy table to prevent it from tipping over during the process.
Step-by-Step Guide to Replacing the OKI Fuser
While exact steps vary by model, the following general process applies to most OKI laser printers. Always refer to your printer’s manual for model-specific details.
Step 1: Access the Fuser Area
- Ensure the printer is unplugged and cooled down.
- Open the printer’s access panels to reach the fuser. For most OKI printers, this involves opening the back panel or a side door. Some models require removing the top cover first—check your manual for the correct panels to open.
- Locate the fuser unit. It is typically a rectangular component near the back of the printer, where the paper exits after printing. You may see rollers or a label marked “Fuser” or “Fuser Unit.”
Step 2: Remove the Old Fuser
- Identify how the fuser is secured. It may be held in place by screws, clips, or levers.
- If screws are present, use a flat-head screwdriver to remove them. Place the screws in a small container to avoid losing them.
- Look for release levers or clips. These may need to be pressed or pulled to unlock the fuser. Some models have a handle on the fuser for easy removal.
- Gently pull the fuser out of the printer. If it feels stuck, check for any remaining screws or clips you may have missed—never force it, as this can damage internal components.
- Set the old fuser aside. Dispose of it according to local regulations, as some components may be recyclable.
Step 3: Prepare the New Fuser
- Unpack the new OKI Fuser, taking care not to touch the roller surfaces. Remove any packaging materials, including tape or protective covers, from the fuser.
- Inspect the new fuser for damage, such as cracks in the rollers or loose parts. If damaged, contact the supplier for a replacement.
- Some fusers come with instructions or additional parts (like new screws). Review these before installation to ensure you have everything needed.
Step 4: Install the New Fuser
- Align the new fuser with the slots or guides in the printer. It should slide into place smoothly—do not force it.
- Secure the fuser using the screws, clips, or levers you removed earlier. Tighten screws firmly but not excessively to avoid stripping them.
- Double-check that the fuser is properly seated. A loose fuser can cause paper jams or print errors.
Step 5: Reassemble the Printer
- Close all access panels and covers you opened earlier, ensuring they lock into place securely.
- Plug the printer back into the power source.
Step 6: Test the Printer
- Turn on the printer and wait for it to initialize. It may perform a self-test or warm-up cycle.
- Print a test page. Most OKI printers allow you to print a test page through the control panel or printer settings on your computer.
- Check the test page for issues like smudging, uneven print, or streaks. If the print quality is clear and sharp, the replacement was successful.
- If problems persist, double-check the fuser installation to ensure it is properly secured. If issues continue, consult your printer manual or contact OKI support.
Troubleshooting Common Issues After Replacement
Even with careful installation, you may encounter issues. Here are solutions to common problems:
- Error messages after installation: If the printer displays a fuser error, turn it off, unplug it for 10 minutes, then restart. This resets the printer’s sensors. If the error persists, check that the fuser is correctly installed or contact OKI support.
- Paper jams: Jams often occur if the fuser is misaligned. Turn off the printer, open the access panels, and ensure the fuser is seated properly. Remove any jammed paper carefully to avoid tearing.
- Poor print quality: If prints are still smudged or uneven, the new fuser may be faulty, or there could be another issue (like old toner). Try replacing the toner cartridge or contact the fuser supplier for a replacement.
- Printer won’t power on: Ensure the printer is plugged in correctly and the power switch is on. If it still won’t turn on, check the power cord for damage or try a different outlet.
Tips for Extending Your New OKI Fuser’s Lifespan
To get the most out of your new OKI Fuser, follow these maintenance tips:
- Avoid overloading the printer: Stick to the recommended monthly print volume for your model to prevent excessive wear.
- Use high-quality paper: Low-quality or thick paper can strain the fuser. Use OKI-recommended paper weights and types.
- Keep the printer clean: Regularly wipe dust from the printer’s exterior and vents to prevent overheating. Clean the inside gently with a lint-free cloth if you notice toner buildup.
- Power off properly: Avoid unplugging the printer while it’s running, as this can damage the fuser. Use the power button to shut it down.
FAQ
How do I know which OKI Fuser is compatible with my printer?
Check your printer’s model number (found on a label at the back or bottom) and use it to search for compatible fusers on OKI’s website or with reputable suppliers. Always buy genuine OKI fusers for compatibility.
Do I need professional help to replace an OKI Fuser?
No, most users can replace the fuser themselves by following the printer manual and safety steps. If you’re unsure, OKI support or a professional technician can assist.
How long does it take to replace an OKI Fuser?
The process usually takes 20–30 minutes, including cooling time for the printer. Familiarity with the printer and having tools ready speeds up the process.
Can a used OKI Fuser be reused?
It’s not recommended. Used fusers have worn components that will likely cause print issues quickly. Always install a new, genuine fuser for reliable performance.
What should I do with the old OKI Fuser?
Check local recycling programs for electronic waste. Many areas accept printer components for recycling to reduce environmental impact.

