
Essential Guide to Lexmark Fuser Cartridge Maintenance
Maintaining your Lexmark printer's performance requires knowing how to properly replace Lexmark fuser cartridge components when needed. The fuser unit plays a crucial role in the printing process by applying heat and pressure to permanently bond toner to paper. When print quality issues arise or your printer displays end-of-life warnings, it's time to tackle this important maintenance task. This comprehensive guide will walk you through the entire process of replacing your Lexmark fuser cartridge safely and effectively.
Understanding proper replacement procedures not only extends the life of your printer but also ensures optimal print quality and prevents potential damage to other printer components. While the task may seem daunting at first, with the right knowledge and careful attention to detail, you can complete this maintenance procedure confidently.
Preparation and Safety Measures
Required Tools and Materials
Before beginning the process to replace Lexmark fuser cartridge components, gather all necessary materials. You'll need a new fuser cartridge compatible with your specific Lexmark printer model, protective gloves to handle hot components safely, and a clean, static-free workspace. Having these items ready beforehand ensures a smooth replacement process and minimizes printer downtime.
Take time to verify that your replacement fuser cartridge matches your printer's specifications exactly. Using an incompatible part can lead to poor print quality or even damage your printer. It's worth noting that genuine Lexmark parts, while potentially more expensive, often provide the best reliability and performance.
Safety Precautions
Safety should be your primary concern when handling printer components. The fuser unit operates at extremely high temperatures, so always power down your printer and allow it to cool completely before attempting any maintenance - typically 30-60 minutes. This cooling period is non-negotiable for preventing burns and ensuring safe handling.
Additionally, protect yourself from static electricity by touching a grounded metal surface before handling internal printer components. Static discharge can damage sensitive electronic components within your printer, leading to costly repairs or replacements.
Step-by-Step Replacement Process
Accessing the Fuser Unit
Begin by powering down your Lexmark printer and unplugging it from the electrical outlet. Open the printer's rear access panel or door, which typically requires pressing release latches on both sides. Some models may require removing additional covers or panels - consult your printer's manual for specific instructions for your model.
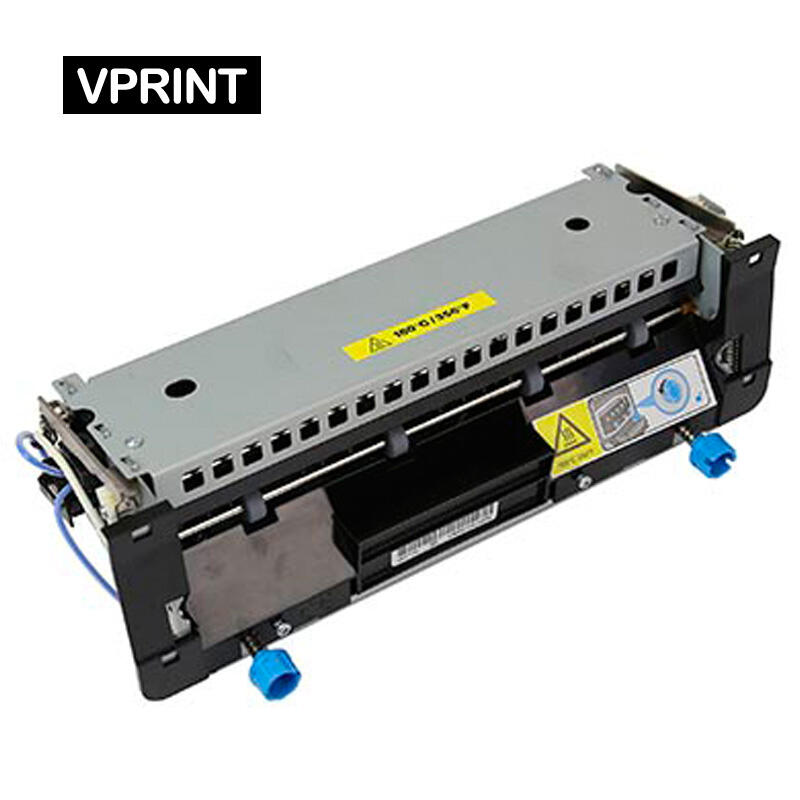
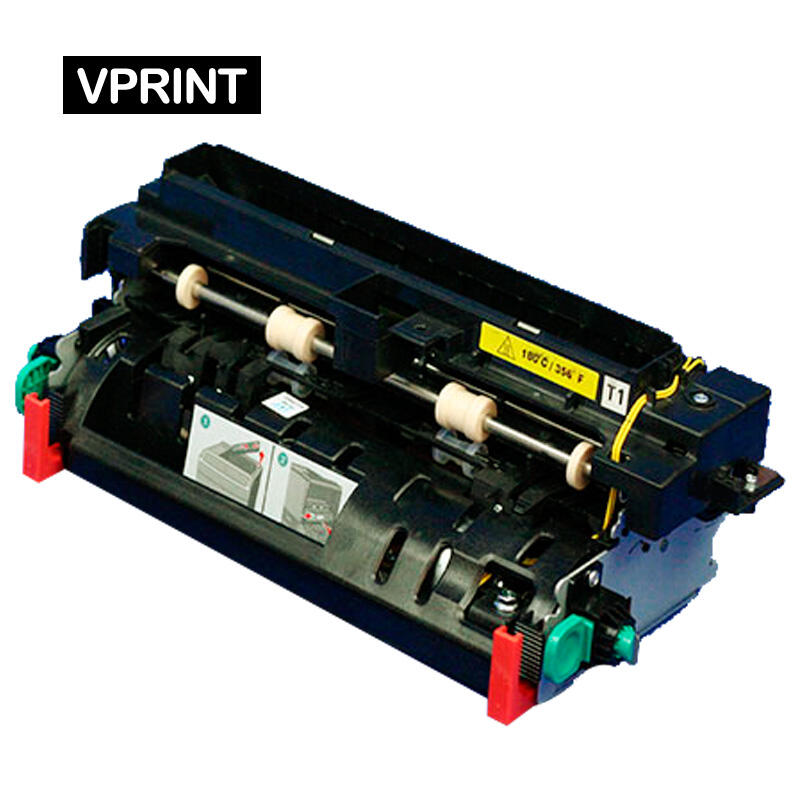
Once you've gained access, locate the fuser unit. It's typically positioned near the paper exit area and may be secured with additional latches or screws. Take note of how the unit is oriented and connected before removal, as this will help during reinstallation.
Removing the Old Fuser
With the printer properly cooled and accessed, carefully disconnect any cables or connectors attached to the fuser unit. Most Lexmark models feature quick-release connectors, but some may require gentle manipulation to disconnect. Pay attention to the routing of these cables for later reassembly.
Locate the securing mechanisms - usually levers or screws - that hold the fuser in place. Release these carefully while supporting the fuser unit to prevent it from falling. Gently slide the old fuser unit out, maintaining a steady grip and even pressure to avoid damaging other components.
Installation and Verification
Installing the New Fuser
Before installing the new fuser cartridge, inspect it thoroughly for any shipping damage or protective materials that need removal. Handle the new unit carefully, avoiding contact with the roller surfaces and heating elements. Align the new fuser with the mounting points inside your printer, ensuring it slides smoothly into position.
Secure all mounting mechanisms firmly but don't over-tighten. Reconnect all cables and connectors in their original positions, ensuring they're fully seated and properly routed. Double-check all connections before proceeding to prevent startup issues.
Testing and Quality Verification
Once the new fuser is installed, close all access panels and reconnect the printer to power. Allow the printer to complete its startup sequence, which may include automatic calibration. Print a test page to verify proper installation and print quality. Look for even toner distribution, proper fusing (no loose toner), and consistent print density across the page.
If you notice any issues, such as wrinkled paper or poor toner adhesion, power down the printer and verify all connections and mounting points. Sometimes minor adjustments to the fuser position can resolve these issues.
Maintenance and Troubleshooting
Preventive Maintenance Tips
To extend the life of your new fuser cartridge, implement regular maintenance practices. Keep your printer's paper path clean and free of dust, use appropriate paper types and weights for your printer model, and avoid opening panels unnecessarily while the printer is operating. Regular cleaning of paper feed rollers can prevent many common issues that stress the fuser unit.
Monitor your printer's maintenance messages and respond promptly to any warnings about fuser performance or life expectancy. Planning replacements before complete failure prevents unexpected downtime and potential damage to other printer components.
Common Issues and Solutions
Even with careful installation, you might encounter certain issues when you replace Lexmark fuser cartridge components. Paper jams near the fuser area often indicate improper installation or misalignment. Poor toner adhesion or glossy streaks on prints may suggest temperature regulation problems. Most issues can be resolved by carefully removing and reseating the fuser unit.
If problems persist after reinstallation, consult your printer's manual for model-specific troubleshooting steps or contact Lexmark support for additional guidance. Keep detailed records of maintenance procedures and any issues encountered to help identify patterns and prevent future problems.
Frequently Asked Questions
How often should I replace my Lexmark fuser cartridge?
The replacement interval typically depends on your printing volume and the specific printer model. Most Lexmark fuser units are rated for 100,000 to 300,000 pages under normal usage conditions. However, it's best to monitor print quality and respond to printer maintenance messages rather than rely solely on page counts.
Can I clean or repair a fuser unit instead of replacing it?
While some basic cleaning of the exterior surfaces is possible, internal repairs are not recommended. The fuser unit contains precisely calibrated components and attempting repairs can compromise print quality and safety. When performance degrades, complete replacement is the most reliable solution.
What are the signs that my fuser needs replacement?
Common indicators include wrinkled or creased output, toner that easily rubs off the page, repetitive marks or lines on prints, and printer warning messages. You may also notice increased paper jams or unusual noises during printing. When these symptoms appear, it's time to replace Lexmark fuser cartridge components.